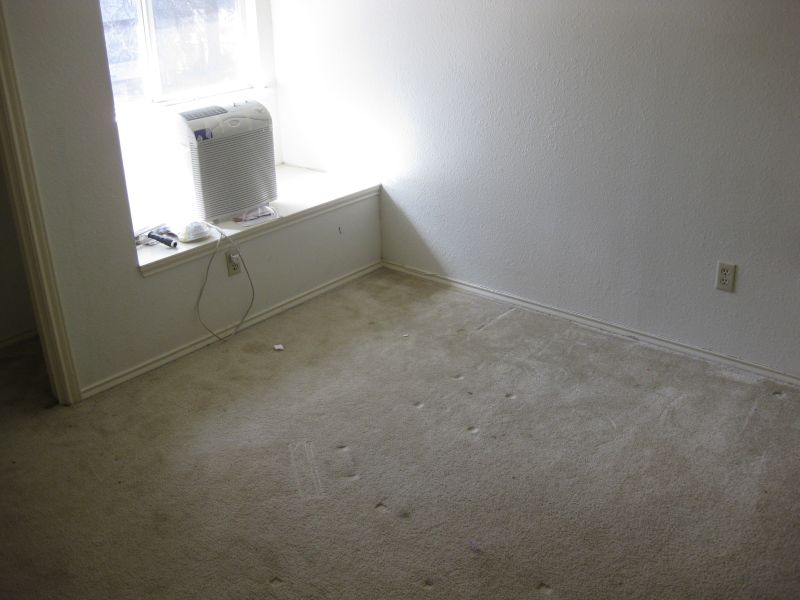
Here's what it looked like. Crappy carpet, and generic white paint.
(July, 2014)

Here's what it looked like. Crappy carpet, and generic white paint.
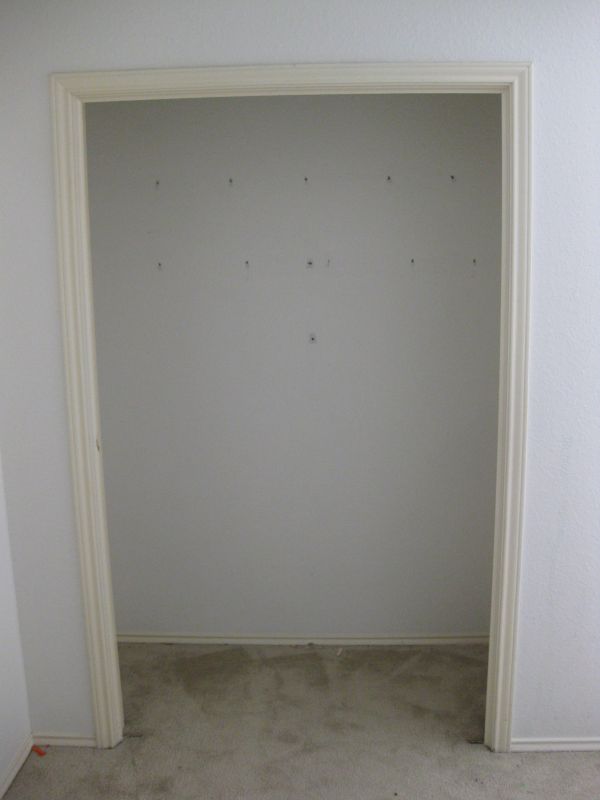
This is the closet, after we took the shelves and hanger rod down. It was easier to just repaint and then remount all that stuff.
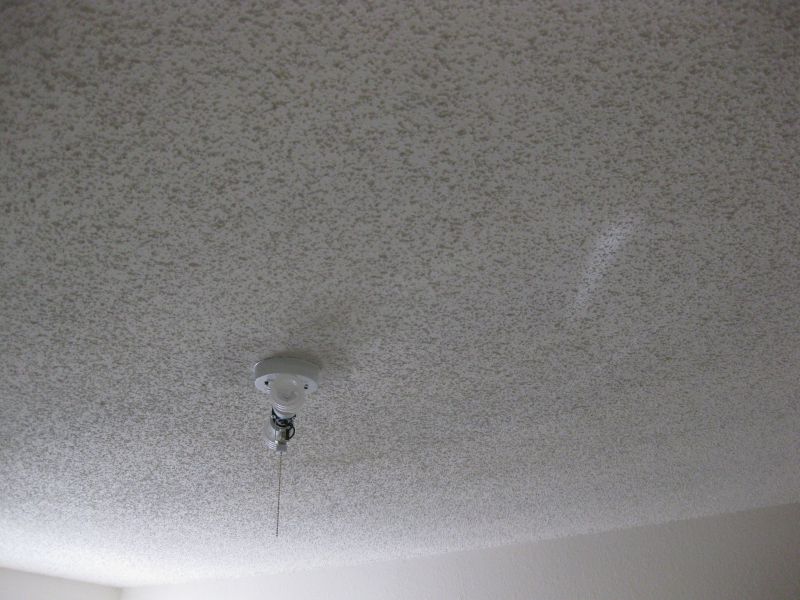
And that popcorn ceiling texture must go! I've already removed the ceiling fan and put up a generic light fixture. In fact, that's probably the best thing to start with, so let's do that.
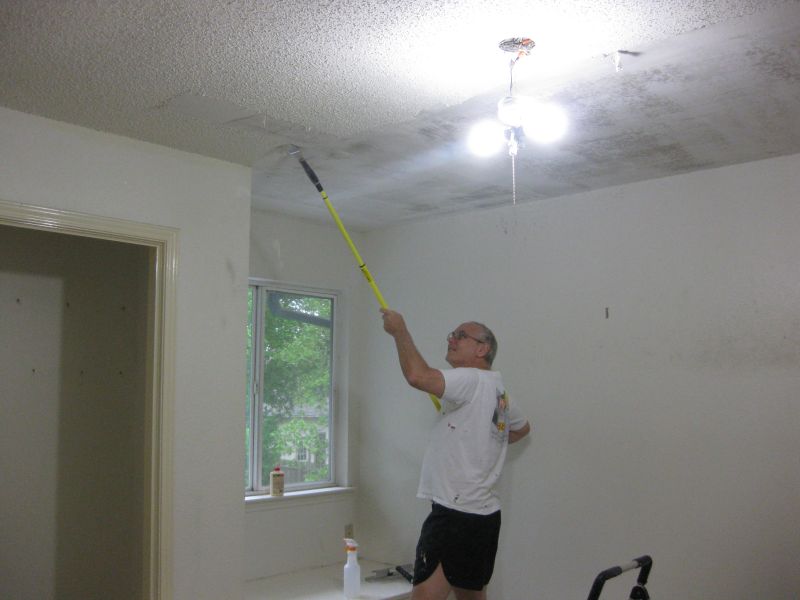
Off I go. The stuff comes off fairly easily, but messily. You have to spray water on it, let the water soak in for a bit, and then scrape it off. They make scraper tools especially for this purpose. You can hang a plastic bag on them that catches the stuff as you scrape it off. They are crap. I wasted money buying one. It's flimsy, the bag keep slipping off, and it doesn't catch all the scrapings anyway. Avoid. I wound up using that angled paint scraper you see here. It also let me screw that pole into the end. Much much better.
Another pro tip. Initially, I used that spray bottle you see on the window seat. After a few minutes of constant spray-spray-spray to put enough water on the ceiling, my hand started cramping up. So I went out and bought a cheap 1-gallon garden sprayer. Pump it up, then hose the ceiling down real good. It worked much better.
All that scraping made a giant wet mess on the floor, but I didn't care. I ripped up the carpet and rolled up the mess with it. Then I painted the ceiling with proper texture paint.
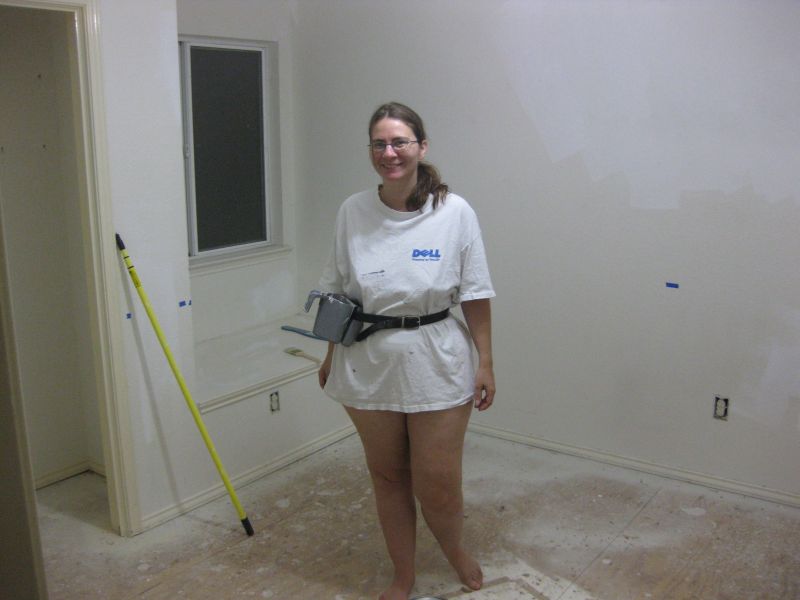
Here is the Lovely Wife all ready to paint the walls. Moira picked out a light green and a dark green. The lower part will be dark, the upper will be light.
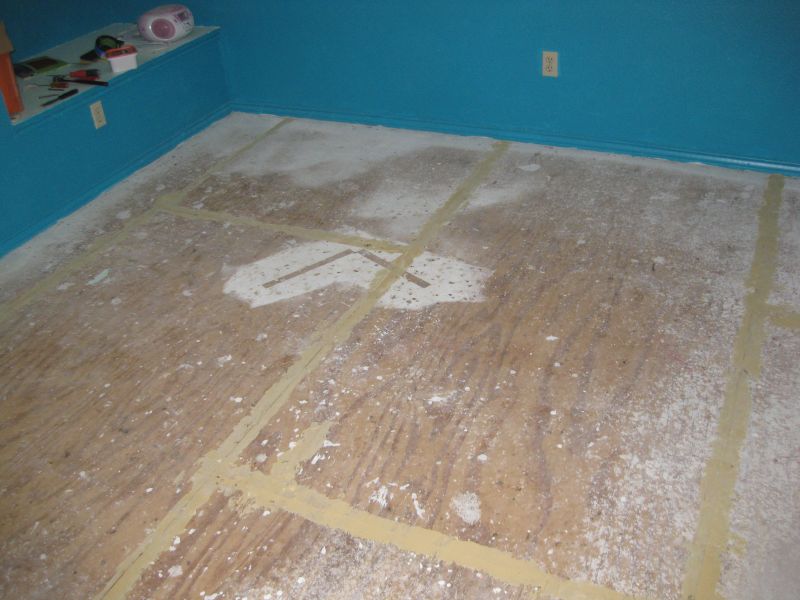
Walls painted, now let's do the floor, which is the actual point of this whole project. You have to fill in the gaps between the plywood sheets and sand down any high spots. There was also a gap between the bottom of the baseboard moulding and the floor itself to account for the carpet. I filled that with caulk. This is after that is done.
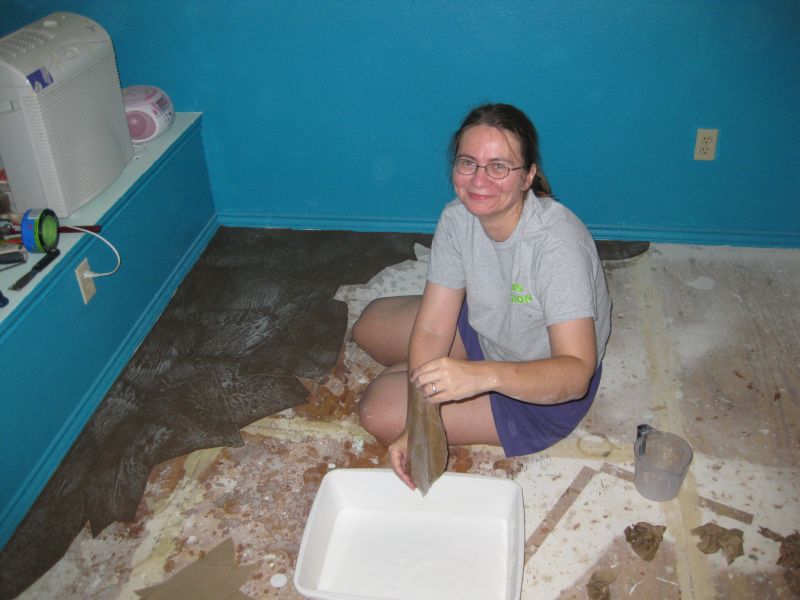
Actually putting the floor down went pretty quickly. I think it took us about three hours to do the whole room. You tear off some paper from the giant roll, wad it up, drench it in the glue solution (1 part Elmer's glue, 3 parts water), then spread it onto the floor. Repeat until done. We used the pieces from the edge of the roll that had the straight edge to go along the wall.
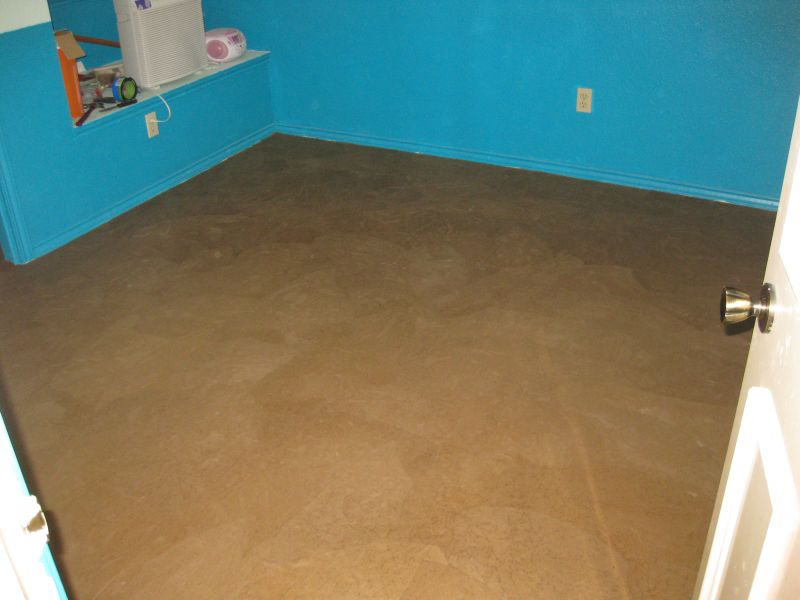
Here is is, all done. We didn't stain it because it looked pretty good as-is. This is before we put down the floor coating.
It looks good. But. You're supposed to use a paintbrush to smear glue onto the wood before you put the glue-soaked paper down. We didn't do that. In the middle of the floor there was enough smearing around so that it didn't matter as much, but on the edges, the paper started coming unstuck. Also, you can see the white caulk over the floor. There were also a couple of areas where the plywood floor delaminated and bubbled up. So we had to rip up the paper around the edges, fix the floor, do some touch-up painting, then replace the paper before we can apply the floor coating.
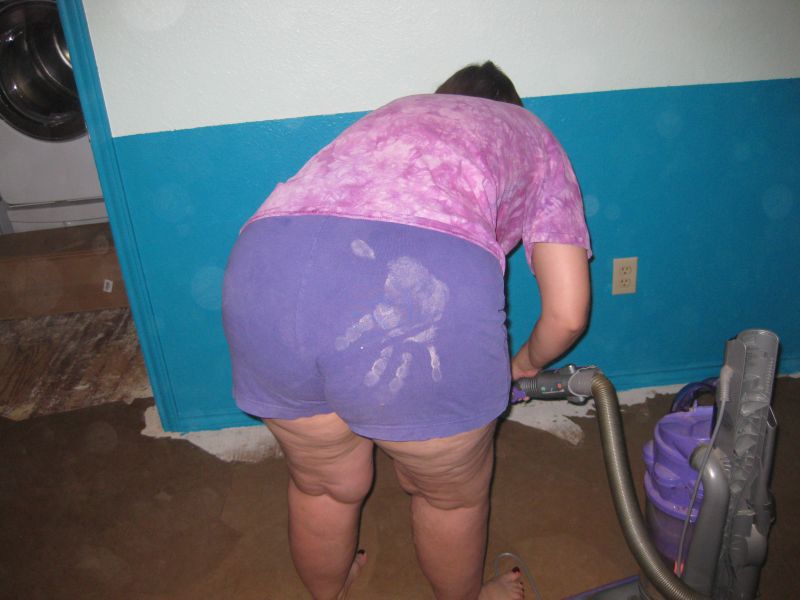
Here's Lovely Wife, vacuuming up before applying the paper.
"Oh hey, remember how I said we were just going to repaint and then replace the closet shelves and hanger rods? I changed my mind. We should put in one of those built-in closet thngs from Ikea instead."

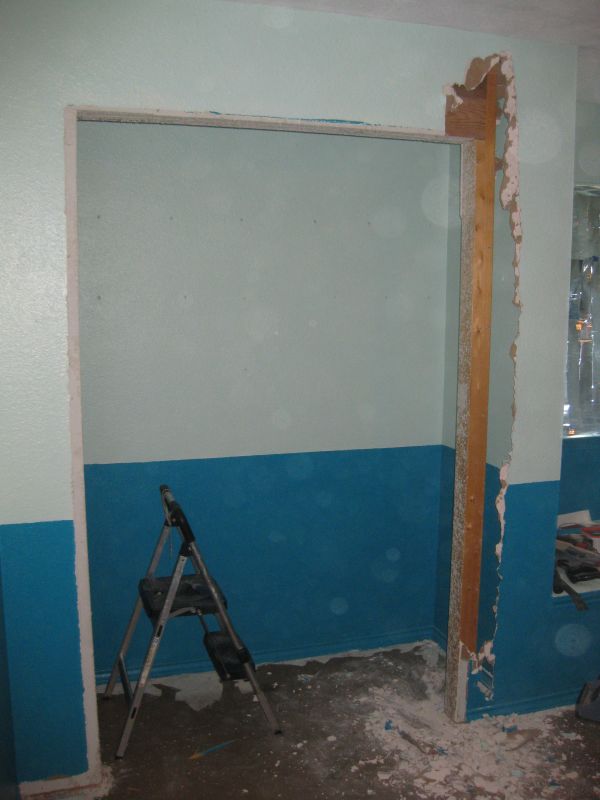
Demolish the frame around the closet.
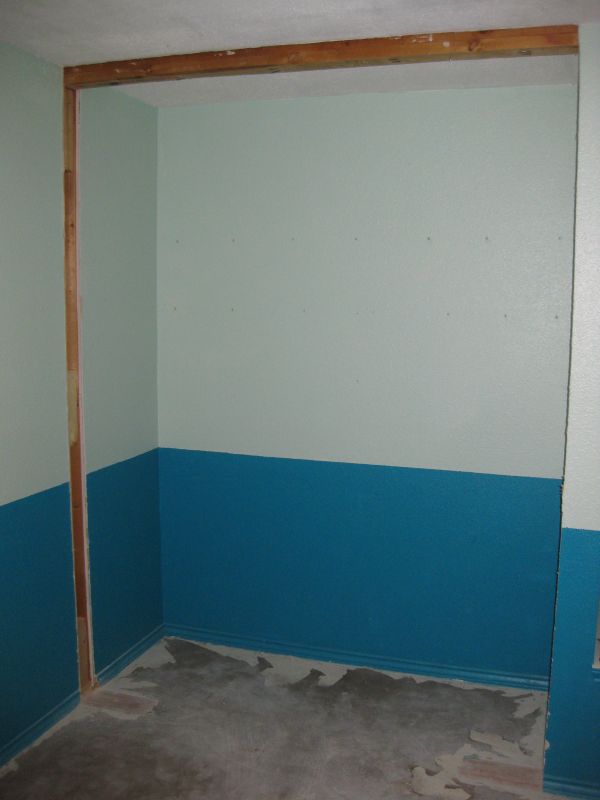
All ripped out.
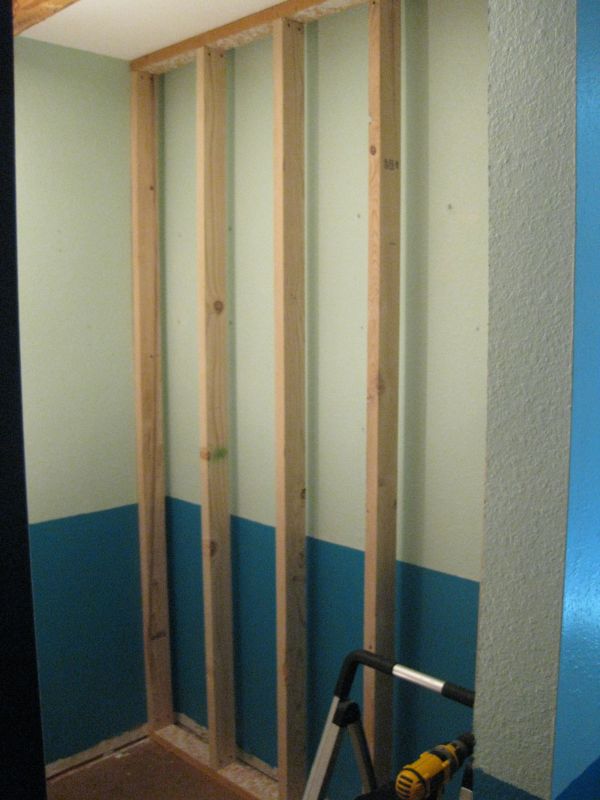
We got a couple of Pax wardrobes from Ikea. But there's a problem: They are five inches shallower than the closet, and the rear of them is made of really flimsy particle board. So I have to frame a wall behind them to support that.
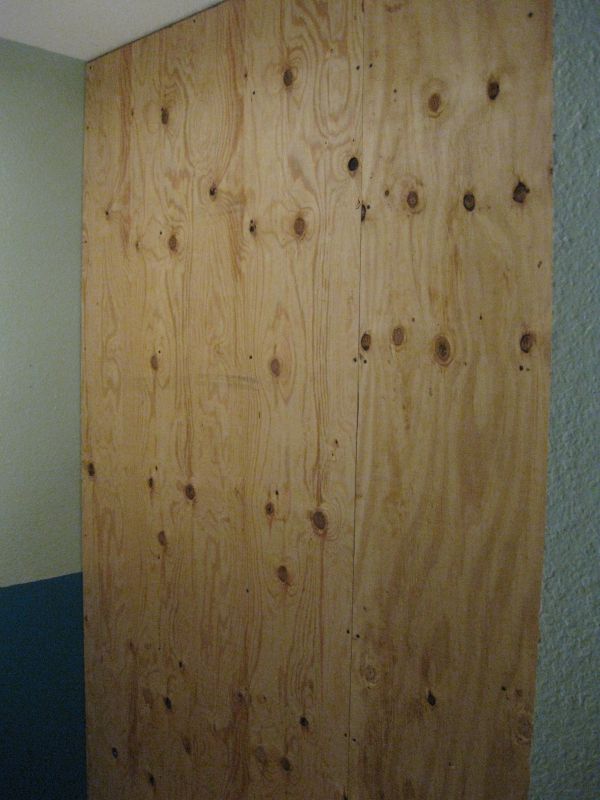
If I'm going to put a wall up, I'm going to do it right. Plywood, baby! Plus, if we decide to hang anything on the back, it can support it.
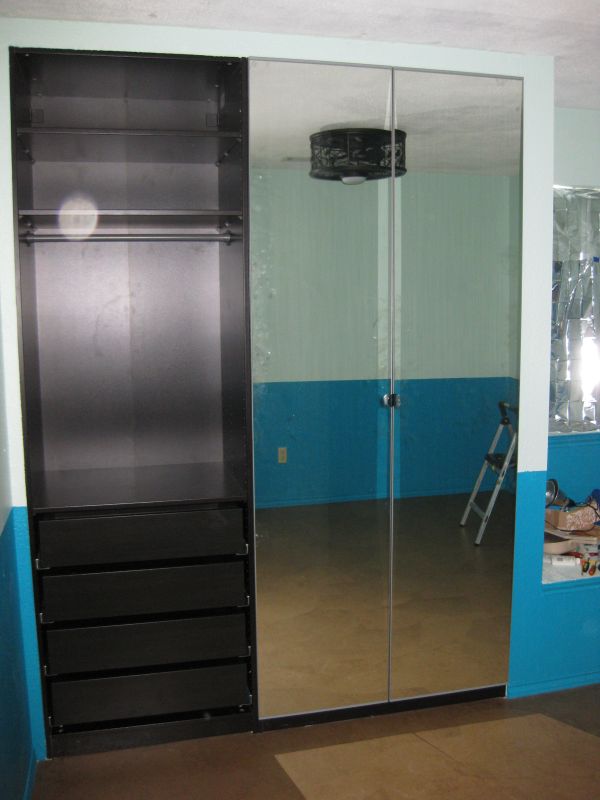
All framed in and painted. I even managed to match the wall texture.
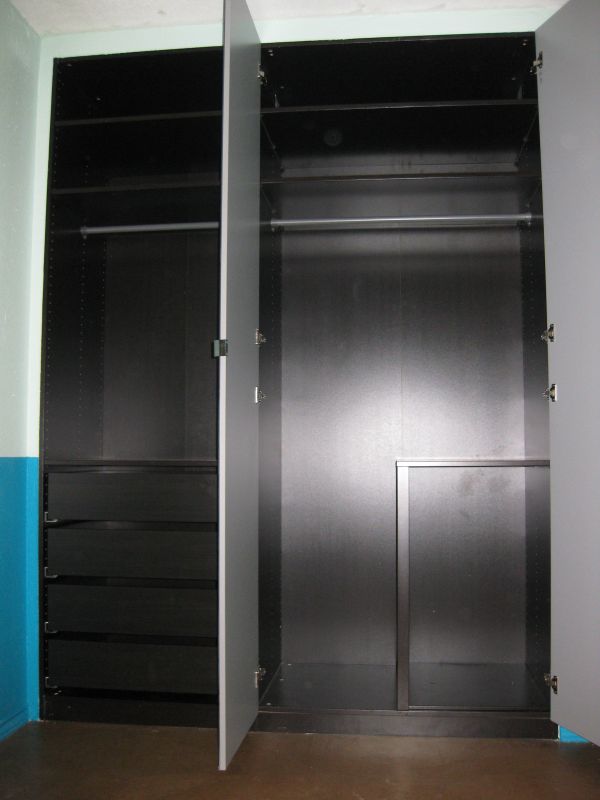
Doors open. There's one more hanger rod that goes under that angle shelf that hasn't been installed yet.
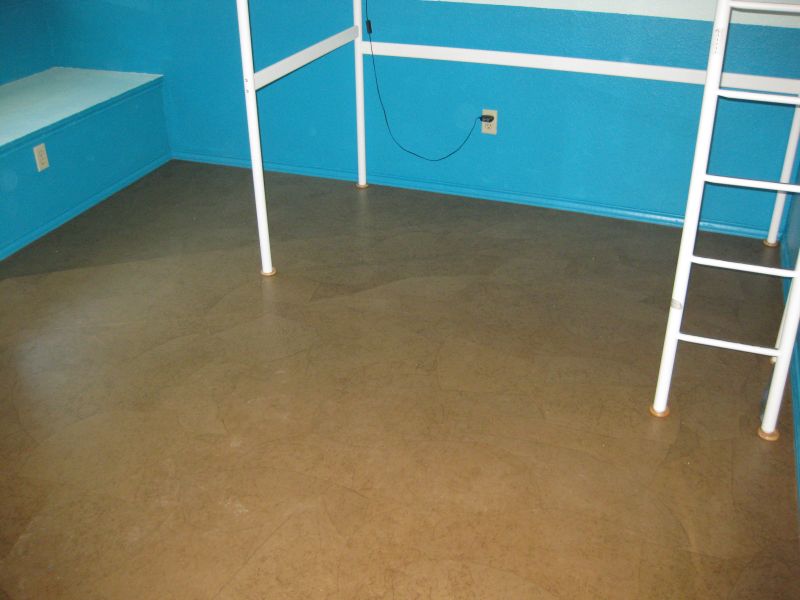
Oh yeah. Here's what the floor wound up looking like. We used Bona Traffic floor coating. Stuff was expensive ($100 per gallon) but it was oh so very much worth it. One gallon did four coats on the entire room. It dried clear and smooth. Recommended.
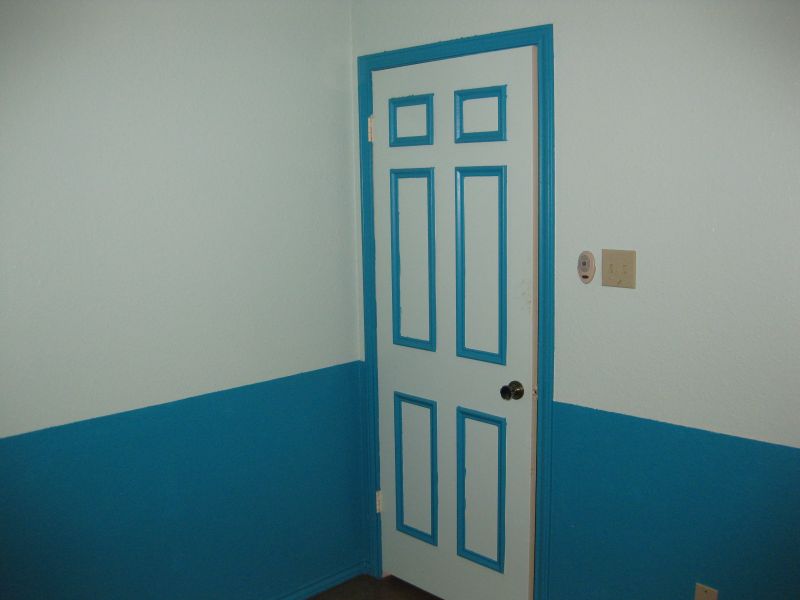
Here's the door, and a view of the paint scheme.